As an Amazon Associate, we earn from qualifying purchases at no extra cost to you.
Bathroom noise can be irritating and embarrassing at the same time. It’s not fun at all, listening to the sound of the toilet flush. After someone uses the toilet, the sound of the refilling tank is heard all over the house. Or when someone is taking a shower, you hear all the sound.
However, if this is happening with your bathroom, you don’t need to panic. We have experienced this problem in our home. It’s not a problem for us anymore. Thanks to soundproofing.
In this article, we will discuss tested techniques to soundproof your bathroom.
How To Soundproof a Bathroom in 5 Simple Ways
Step 1: Soundproof the Source of the Noise
Before thinking of any soundproofing technique, it’s necessary first to deal with the source of the noise.
Work on the Toilet Cover
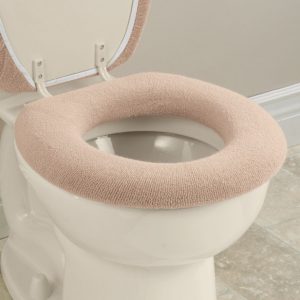
Toilets make a lot of noise in the bathroom. The noise comes from the seat cover crushing against the flush tank and toilet seat.
The noise can be too much if you have many people or children in your home. The only thing you can do to control the noise is to tell them to be gentle. But whether you tell them or not, they will forget and return to their old ways.
Fix adhesive silicone pads on the toilet. Use one pad on the toilet cover. Place the pad exactly where the cover touches the flush tank. This will reduce the noise produced by the cover when you bang it over the flash tank.
Use another pad on the inside part of the toilet seat cover. Fix it exactly where the cover touches the seat. This trick will reduce the noise produced when covering the toilet cover. Attach the other pads between the toilet and the seat.
The pads will reduce all sounds produced by the toilet cover as your housemates open and closes the toilet.
Buy the following pads on Amazon and start soundproofing today.
Clear Rubber Feet Bumpers Pads (Check on Amazon)
- 300 Pieces
- Self-Adhesive
- Transparent Stick Bumper
- Noise Dampening Buffer
Rubber Bumpers (Check on Amazon)
- Self-Adhesive Large
- Sound Dampening
- Rubber Pads for Cutting Board Feet
- 1 Inch Square Clear Rubber Bumper Pads
Pack of 100 Cabinet Door Bumpers (Check on Amazon)
- 1/2” Diameter
- Clear Adhesive Pads
- Sound Dampening
Soundproof the Flush

The toilet flush produces irritating sound. The sound is loud when flushing the toilet or refilling water. We have tried reducing the toilet flush noise, and it worked perfectly.
To reduce the flush noise, use adhesives. Follow the following procedure to soundproof your toilet flush.
- Start first by removing the tank flush cap.
- Drain the tank empty.
- Wait until the tank dries completely
- After the tank walls are dry, place the adhesive on the tank rims. Put another adhesive on the cap too.
- Close your tank.
The seal will block all the noise coming from inside the tank. Alternatively, you can cover the tank completely with acoustic foam panels. The foams are readily available on Amazon.
Fill Empty Spaces in the House
Empty spaces in the bathroom will amplify sound from the toilet and running water. Sound bounces off the empty spaces. As a result, loud echoes travel to the adjacent rooms.
For that reason, fill your bathroom cabinets with sound absorbing materials. Hang fluffy towels over the storage units or on the shelf. These materials will soften the noise in the bathroom before it produces echoes.
Make all effort to minimize the chances of sound echoes in your room.
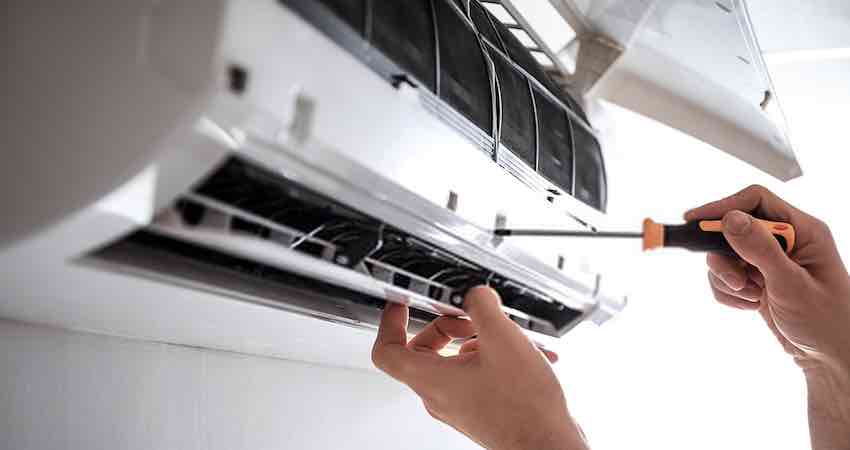
Soundproof the Bathroom Pipes
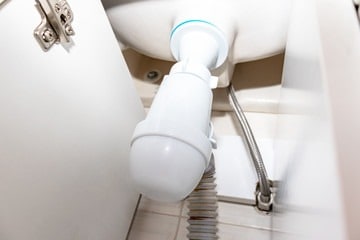
Bathroom pipes some times makes a rattling noise. The noise might be too loud when flushing the toilet or when taps are opened. The pipes may make noise even when no one is using the bathroom. If this is the case, soundproof the bathroom pipes.
Pipe soundproofing can be done in two major ways. You can fill the pipe cavities or wrap them with sound absorption materials. Use both sound absorption and blocking materials to eliminate the rattling sound from your bathroom.
It’s recommended to soundproof pipes during construction. But if this was not done during construction, you can still soundproof them now.
Check all your pipes. Tighten the straps.
Also, check the water valve. Inspect whether the valves are correctly installed. Valves that are not well set makes a lot of noise. Loosen up too tight valves. Tighten all the other valves that might be too loose. The valves should not be too tight or too lose. They should be well fixed.
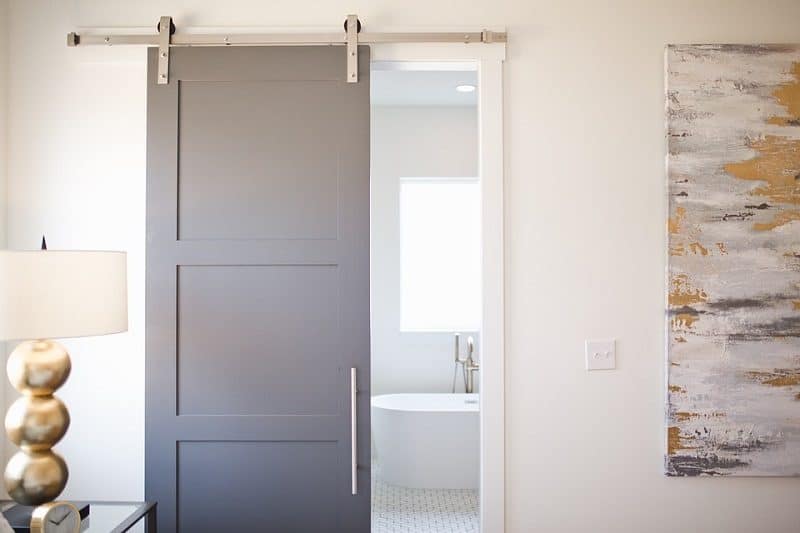
Step 2: Soundproof Bathroom Door
The truth is that 90% of the bathroom noise comes through the bathroom door. Most of the doors in the house are hollow. Others are made with cardboard pieces which do not isolate sound well. Bathroom doors often have large gaps which allow noise and air to pass through them.
This door structure makes the sound to move from your toilet bathroom to other areas in your house.
So how can we soundproof the bathroom door? Below are top ways to prevent the noise coming from your bathroom.
Thicken the Door
Before trying doing anything else on the door, inspect it. Check its thickness and the material used to make it.
When you knock, how does your door sound? Does it sound solid or hollow? If the door is hollow, that is the problem. Hollow doors are affordable but poor in soundproofing.
There are simple techniques for solving this problem. The simplest technique is to install sound dampening materials on the door. You can fix moving blankets or sound deadening foams. However, this technique could be simple but might not be effective.
The most effective technique is to remove your light door and replace it. This technique will cost a higher budget, but it will give higher results than applying dampening materials on the door.
However, if you live in a rented house or apartment, you might not take this method. If you must replace the door, talk to the property manager or Landlord. Some might allow you to change the door. Others might not agree with this idea. Other property managers might even take full responsibility for changing the door.
If you cannot be allowed to replace the door, install sound-deadening materials. It will help.
Soundproof the Door Spaces with A Dampening Door Seal
This method is the cheapest but yet among the most effective for bathroom door soundproofing. You can buy the seal on Amazon and fix it on yourself. Below are systematic steps to install the dampening seal on the door.
- Measure the width and height of your bathroom door.
- Use a handsaw to cut the weather-stripping into correct sizes.
- Place the cut strips to seal the door.
- Cover the gaps from inside. Covering from outside will make your door look ugly.
This technique will reduce the noise from your toilet and bathroom. However, if you don’t like it, other techniques can be used on dampening the door. Keep reading.
Buy the following seals on Amazon.
Foam Rubber Seal Strip Tape (Check on Amazon)
- Foam Adhesive Strips
- 2-Inch-Wide X 1/4 Inch Thick
- Total 13 Feet Long
Foam Insulation Tape Adhesive (Check on Amazon)
- Seal, Doors,
- Waterproof,
- Sound dampening
- Craft Tape (33 Ft- 1/8″ x 2″)
Install Draft Stopper
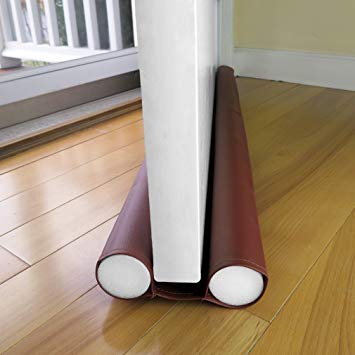
Your bathroom door has to close and open smoothly. This is why there is a gap between the floor and the door. However, the same gap allows sound from the bathroom to bring disturbance into the room.
The large the gap, the more noise it’s going to allow through the door.
Bring an end to this problem. Buy a draft stopper on Amazon and fix it under the door. The stoppers are also called door sweeps.
When installed under the door they slide nicely over carpets, wooden, and laminate floors. They leave no marks or scratches on the floor.
Check the following sweeps on Amazon
Door Draft Stopper (Check on Amazon)
- Under Door Seal for Exterior/Interior Doors
- Soundproof Door Bottom
- Weather Stripping
Evelots Draft Stopper (Check on Amazon)
- Double Sided
- No cold
- 36 Inch Foam
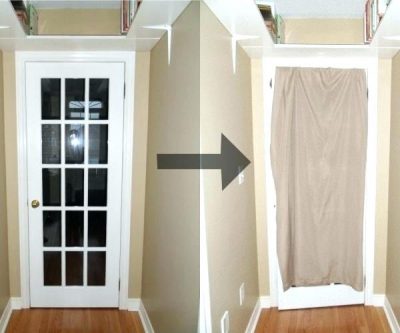
Use Soundproofing Blankets
Soundproofing blankets work efficiently. They are thick and do not allow sound or air to pass through them. The blankets are also readily available on Amazon. You can install them on yourself.
Pin the blankets on the doors. Do this from the inside the bathroom. Alternatively, hang the blankets like you would hang curtains.
- Sure-Max 12 Moving & Packing Blankets (Check on Amazon)
- Deluxe Pro
- Double-sided construction
- 80″ x 72″ (40 lb/dz Weight)
- Professional Quilted Shipping Furniture Pads Royal Blue
- Audimute (Check on Amazon)
- Effective sound absorption.
- Measures 95″ x 54.
- Great for recording studios, drum rooms, rehearsal spaces, vocal booths, and more
- Installation hardware included
- Deluxe Moving Blankets by Chean Cheap Moving Boxes (Check on Amazon)
- Size: 72″ X 80″
- Double lock stitching and thick 1/4-inch material
- Ideal for preventing scratches and nicks to furniture
- Double lock stitching with four square finished corners
For more insights about using soundproofing blankets, read this article.
Hang Soundproofing Curtains Over the Door
Soundproofing curtains work the same way with blankets. The only difference is that the curtains are hanged. Blankets can be hanged or pinned on the wall.
We have tested the following curtains in our home. They are all effective.
Nicetown (Check on Amazon)
- Noise Reducing Thermal Insulated Solid Ring
- Top Blackout Window Curtains/Drapes
- Two Panels,42 x 84 Inch.
Deconovo Blackout Curtains (Check on Amazon)
- Thermal Insulated
- Noise Reducing
- Size: 52W x 54L Inch
Step 3: Soundproof the Walls
If you have soundproofed your door and still hear bathroom noise from other rooms, work on the wall. Doors are not always the problem. Thin walls with cracks can allow bathroom noise to pass through it. Try the following techniques on your wall.
Add a layer of drywall
If your drywall is thin, thicken it. This is the most effective technique to dampen noise passing through them. When adding the drywall, add sound dampening materials in between.
However, this technique requires specialized skills. If you are not an expert in the construction, don’t try it on your own. Get a professional to add the layer.
It’s also expensive to add wall layers. But it will give better results than any other wall soundproofing techniques. The denser and thicker the wall is, the better the results.
Just like we mentioned about replacing the door, consult your landlord if you are living in a rented house. Don’t make any adjustments in the house without their permission.
If you can’t get permission to add other wall layers, apply other wall soundproofing techniques.
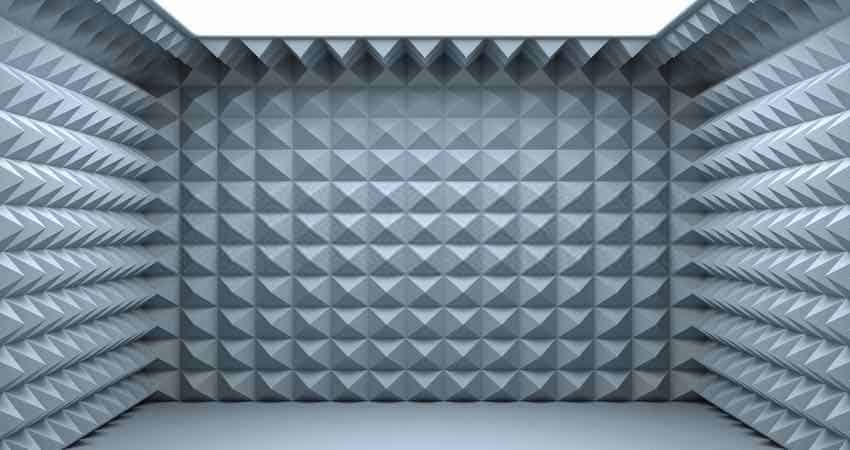
Install Acoustic Foam
Acoustic foam panels are specifically designed for music rooms. They can also function well on the bathroom walls. Most of the foams are waterproof.
Acoustic foam panels absorb all noise that bounces off the wall. They soften all bathroom echo sounds.
We have tried and tested the following acoustic foams. They work perfectly on the bathroom walls.
Check our tested foams on Amazon.
Foamily 12 Pack- Acoustic Panels (Check on Amazon)
- 12 Pack covers 12 square feet
- Professional acoustic control
- Great for spot treating sound on walls
Mybecca 12 Pack- Acoustic Panels (Check on Amazon)
- 12 pack means
- Professional acoustic control Acoustic
- Sound deadening material
Seal All Cracks on the Wall
Thin walls crack easily. Bathroom walls, particularly they are exposed to moisture and water. This increases the chances of cracking.
Therefore, inspect your wall and check any cracks. If you notice any crack, fill them with a joint compound. Apply one layer first and leave it to dry. The following day you can apply another layer to seal completely. After the second layer, sand until smooth. In the end, put wallpaper or paint the wall to hide the marks.
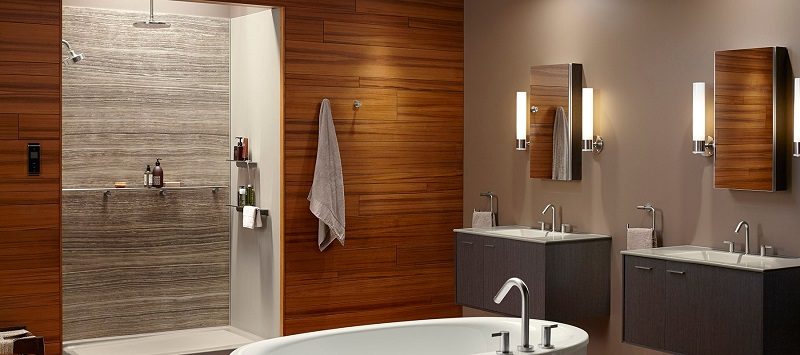
Step 4: Soundproof the Floor
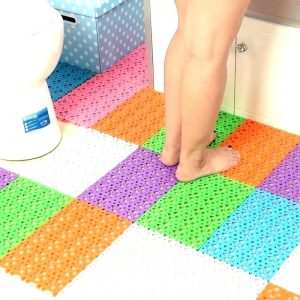
Block the bathroom sound from reaching the other room by working on your floor. This is efficient, especially if your bathroom is above other rooms. All noise will be heard in the other rooms.
Use bathroom mats and rugs to enhance your bathroom aesthetic. The mats will absorb all sound echoes.
Mats and rugs are easy to install. You just buy and lay them on the bathroom floor.
However, not all mats and rugs can soundproof bathrooms. Use bathroom mats only. We have tested the following mats. Check and buy them on Amazon.
Genteele Memory Foam Bath Mat (Check on Amazon)
- Non-Slip rug
- Velvet Bathroom Rug Carpet
- Absorbent
- Super Cozy
LuxUrux Bathroom Rugs (Check on Amazon)
- Luxury
- 2-Piece Bath Mat Set,
- Soft Plush
- Anti-Slip
- Shower Rug +Toilet Mat
- Shaggy Carpet
Step 5: Soundproof the Windows
If you have windows in your bathroom, work on them. They will allow noise to pass through them. In most cases, bathroom windows do not face the rooms inside the house. However, they still allow noise to travel outside.
With that said, hang the curtain over the windows. Buy soundproofing bathroom curtains. Choose heavy and curtains for effectiveness. Heavy curtains prevent blocks all hair and sound from passing through them.
Alternatively, you can use soundproofing blankets. They will function just the same as soundproofing curtains.
Check our previously recommended soundproofing curtains and blankets. Buy any of them and use them in your soundproofing activities.
You may also like our recent post about soundproofing air vents.
Final Words
We have discussed different techniques that can be applied to soundproofing bathrooms. Inspect the source of your noise. Check your doors, windows, walls, and pipes. Once you have identified the source of the noise, apply the relevant technique. Most importantly, buy tested soundproofing materials from Amazon. Check our recommended items, buy them on Amazon, and soundproof your bathroom.
Tips: If you are interested to know about bathroom lighting, read this post from www.nashvillesmls.com