As an Amazon Associate, we earn from qualifying purchases at no extra cost to you.
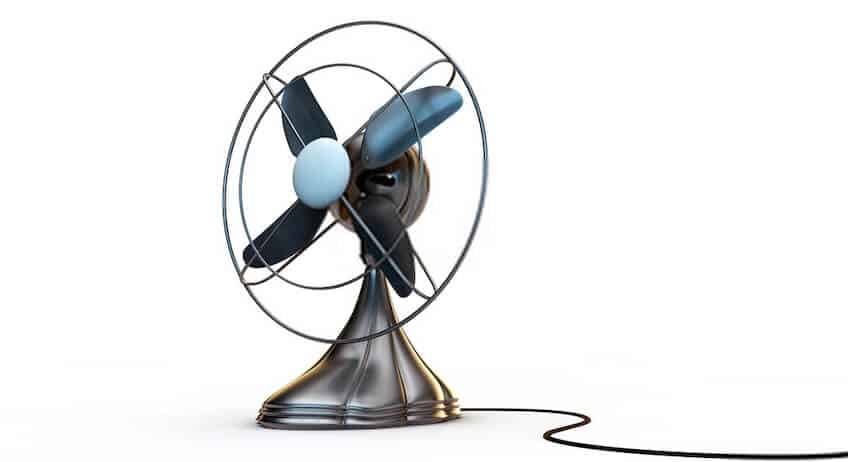
Fans are cheap. When compared to other cooling systems, they are effective at their price. Their installation and use are easy.
However, these benefits come with some drawbacks. Noise is a common problem associated with a room fan.
When a room fan starts running, it leaves the entire house noisy. The sound worsens if the fan is dirty or damaged.
However, this problem shouldn’t be a concern. The issue can be dealt with by soundproofing. Other options would include working on the main parts of the fan that are making the noise.
This article, therefore, discusses how to make a room fan quieter.
- Can a Room Fan be Quiet?
- 1. Place your fan on a flat surface
- 2. Put a Soft and Heavy Soundproofing Material Under the Fan
- 3. Clean your fan more often
- 4. Fix loose screws and knobs on your fan
- 5. Properly Position the Fan Blades
- 6. Oil the Motor
- 7. Change the cushioning
- 8. Keep the Fan Cage in Good Condition
Can a Room Fan be Quiet?
Yes. It can be. This is a commonly asked question. Most people wonder whether any techniques can soundproof a room fan.
The fact is that the noise from a room fan cannot be reduced to 100%. The rotating fan blades will still make some noise. However, when worked on, the noise can be reduced to a level of up to 70%.
When the temperature are high, a fan will do a good job. If you can work on the noise, it will be a perfect replacement for the HVAC cooling system.
Just come to think of it. Why do we need a fan? , the fan helps circulate air in the house. However, fans can cause the problem of noise. In this article, you are lucky to get an insight into the causes and solutions. Enjoy reading
Effective Methods to Make Your Room Fan Quieter
The following are simple techniques to apply to your fan. They will reduce most of the noises coming into your room.
1. Place your fan on a flat surface
Rotating fan produces some noise. It mainly produces rattling and creaking sounds. It’s irritating when the fan produces such sounds.
Nevertheless, this should not cause you any more headache. The solution is simple.
You can deaden the noise by ensuring that the floor of your house is smooth and also uniform.
A smooth ground is good since balancing the weight of the fan is a sure deal. Make sure the fan rests on a flat surface.
2. Put a Soft and Heavy Soundproofing Material Under the Fan
The base of your fan may sometimes get damaged or warped with time. This comes as a result of normal tear and wears of your fan. In fact, this happens with most of the appliances.
But there is no need of living with the rattling noises.
You can easily fix this problem. Place the fan on a soft surface. Get a material that will absorb and deaden most of the fan noises. Consider using either of the following materials.
Heavy Rugs: Get a rug on amazon and place it under the fan. The thicker the rug, the better the results. Consider buying any of the following rugs.
Safavieh California Premium Shag
")
- Highly reviewed.
- Thick
- Easy maintenance
Safavieh Hudson Shag Collection SGH280B Grey
")
- Top-rated mat
- Thick
- Easy maintenance
Soundproofing Blankets: Soundproofing blankets are thick and dense. When placed under the fan, they will absorb most of the noises from the fan. Consider buying any of the following soundproofing blankets on Amazon. Place them under the fan and enjoy living in a silent room.
Sure-Max 12 Moving & Packing Blankets
- Deluxe Pro
- Double-sided construction
- 80″ x 72″ (40 lb/dz Weight)
- Professional Quilted Shipping Furniture Pads Royal Blue
- Effective sound absorption.
- Measures 95″ x 54.
- Great for recording studios, drum rooms, rehearsal spaces, vocal booths, and more
- Installation hardware included
Deluxe Moving Blankets by Chean Cheap Moving Boxes
- Size: 72″ X 80″
- Double lock stitching and thick 1/4-inch material
- Ideal for preventing scratches and nicks to furniture
- Double lock stitching with four square finished corners
For more insights about using soundproofing blankets, read this article How to Soundproof a Room with Blankets: 9 Best Ways!
3. Clean your fan more often
Fans can sometimes accumulate a lot of dust. The dust can interfere with the moving parts. Also, it’s a major cause of noises from your room fan.
Therefore, clean your fan at least monthly.
Simple procedure to Clean Your Fan
If your fan is noisy, inspect it. Check if it’s dirty. If you notice any dirt on it, follow the steps below to clean it.
- Ensure your fan is turned off or unplugged while cleaning

- Carefully take the fan apart
- Remove the front blade cage. Carefully unscrew the cap at the Centre of the blades.
- Carefully remove the second cap separating the fan blades from the back of the cage.
- Slide off the back of the cage; a bare motor is left.
- Use a dry clean piece of cloth to clean the cage, caps, and blades.
- Wash the blades, cage, and caps with a soapy cloth. Afterward, you can wipe them dry.
- Use a dry cloth to wipe the exterior of the motor; on the other hand, you can spray canned air into the fan motor to clean the parts cant wipe with the piece of the cloth.

The good news is, all the fan components are free of dust after the above procedure. After cleaning, you can reassemble them.
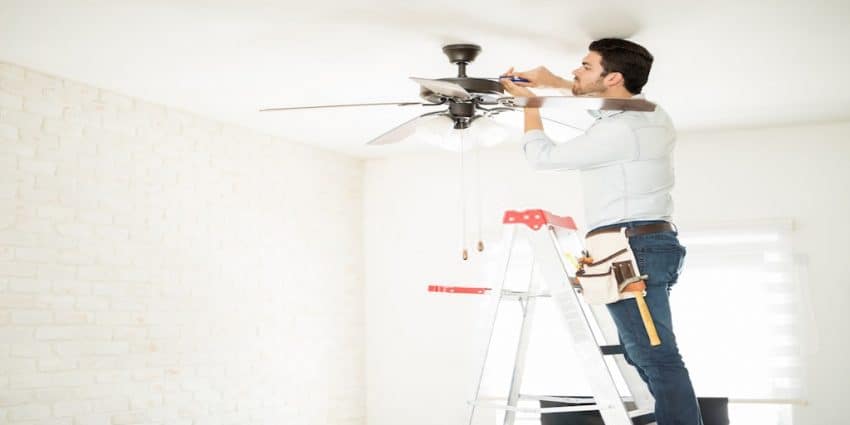
4. Fix loose screws and knobs on your fan
Loose screws and knobs can make the fan fragile. The fan can turn shaky. As a result, the fan produces a rattling noise.
Use a screwdriver to tighten loose screws. You use a free hand to tighten the knob.
Ensure your fan is unplugged from the power before you start working on it. Otherwise, it will electrocute you.
5. Properly Position the Fan Blades
During the cleaning of the fan, you can as well check the alignment of the blades.
Un-aligned blades can cause an imbalance of the fan producing a whirling noise once the fan is switched on.
If you don’t know how to align the blades, worry no more. Follow the steps below to ensure the blades are well arranged.
- Confirm the position of the blades by laying them on a level flat surface
- Ensure that the bottom of the edges are in contact with the surface under
- Check the top side by placing low-level flat piece cardboard. Ensure the tips are facing to the ground.
- If the fan blades are not aligned, gently bend them until they are in their right position.
Note, if you have plastic blades, you may not be at a position to adjust them. In this case, replace them with new ones.
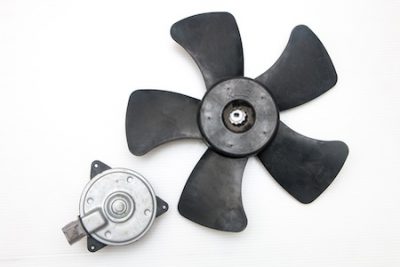
6. Oil the Motor
For the air to circulate, the fan motor must be in motion. Therefore, what can we do to ensure they function as required?
Oiling is the answer. It helps the mechanical rotation of the fan to be efficient. They move smoothly against each other.
Relevant Resources: Floor Soundproofing: Easy Ways to Apartment Floor Soundproofing
Oiling helps deaden the clicking and the clunking noise of the moving parts. Buy non-detergent oil lubricant on Amazon to oil your motor.
Use no more than two drops at a time. Otherwise, you will be running a risk of damaging the motor.
You should oil the fan motor at least once in a year.
The liquid bearings are the best option to buy for your fan. Fluid bearings come with the following benefits;
- They keep outdoor fans operating smoothly in any temperatures!
- Perfect for modern or vintage fan lubrication!
Come to think of it; any fans left without lubrication will eventually freeze and not move.
7. Change the cushioning
Fans are of different types and designs made to satisfy customer needs. Others have foam cushioning in between the caps.
The foam types are unique. The main role of the foam is to makes the fan quieter. They absorb and deaden most of the noises coming from the fan.
Just like the other parts, the cushions get damaged, scratched, or worn out with time. Therefore, replace any damaged or worn our cushion. This will return the normal silence of your room fan.
What you do if the cushion is worn out?
You cannot repair a damaged cushion. On such a case you need to scrape them off and replace them entirely with new ones.
Fix the new set with rubber or glue adhesive where the original cushioning was attached.
Give the adhesive enough time to dry before reassembling the fan.
8. Keep the Fan Cage in Good Condition
In most of the times, the place to look for fan noise is the cage “the blade guards.” The enclosure is usually metallic with clasps on the side made of either metal or plastic.
Due to the movement of the motor, the cage can break with time and cause some rattling sound.
Nevertheless, a quick self-fix is the solution.
With a warped cage, wedge a piece of thick rubber between them to close the gap for good results. Kindly tightly fill the gap.
Cut the piece of rubber to a size that the blades don’t hit it when they start to spin. The decorative cap on the front exterior can be loose. Use adhesive or glue to fix it to its position.
Final Words
Combine more than one technique to getter better results in soundproofing. Ensure your fan is cleaned all the dirt at all time. Place it under a soundproofing material. Lastly, tighten the loose screws or parts of your room fan.