As an Amazon Associate, we earn from qualifying purchases at no extra cost to you.
Audio with noise background is annoying. If your podcasts are noisy, they will be dismissed by listeners. It’s a common problem with most amateurs. As a result, people won’t take you or your podcast seriously.
Professional podcasts are clean — no noisy backgrounds. Audio sounds excellent because of the equipment used to record. However, equipment alone cannot bring the sound clarity. There are other techniques you can apply and reduce all noises from your audio.
It’s now even easy to remove the noise after recording. Thanks to audacity. Audacity removes background noise. Now you don’t have to share your audio with the background sounds. Edit it.
This article, therefore, discusses how to remove background noise in Audacity. But before we discuss the techniques, it’s essential to learn how you can reduce background noises when recording.
Reducing Noises Before Recording
Prevention is better than cure. If you can minimize the noise in your recording area, you will have an easy time editing your audio. Use the following techniques to reduce all noises when recording.
- Use a Good Quality Microphone
The quality of the microphone you are using will determine the clarity of the audio. Most quality mics are affordable and available on Amazon. Consider using either of the following microphones. Buy them from Amazon and start recording your quality audio today.
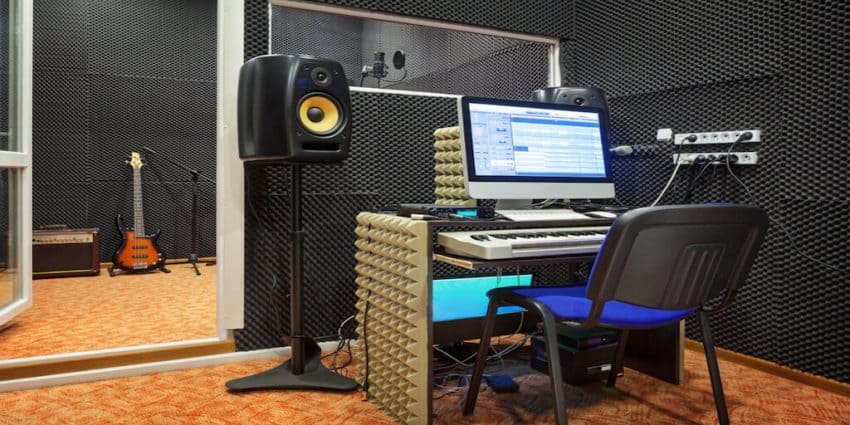
- Choose Your Recording Area Wisely
Try your best to record your audio in an area with minimal or no noise. Avoid using rooms next to traffic or machinery noise. Ensure you don’t do your recording in an area you cannot control its noise.
- Turn Off Noise Makers
Identify anything that is making noise in your room; turn it off. Turn off air conditioners, fans, refrigerators, washers, computers and any other background noise. If you have a loud air vent turn it off when you start recording.
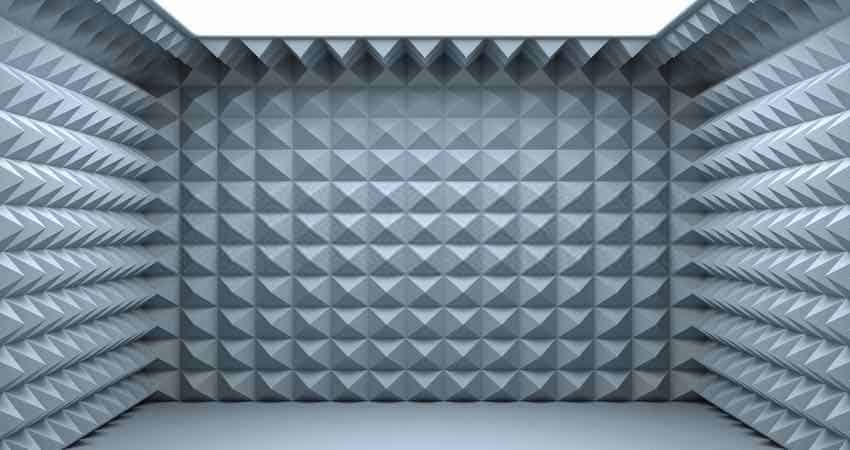
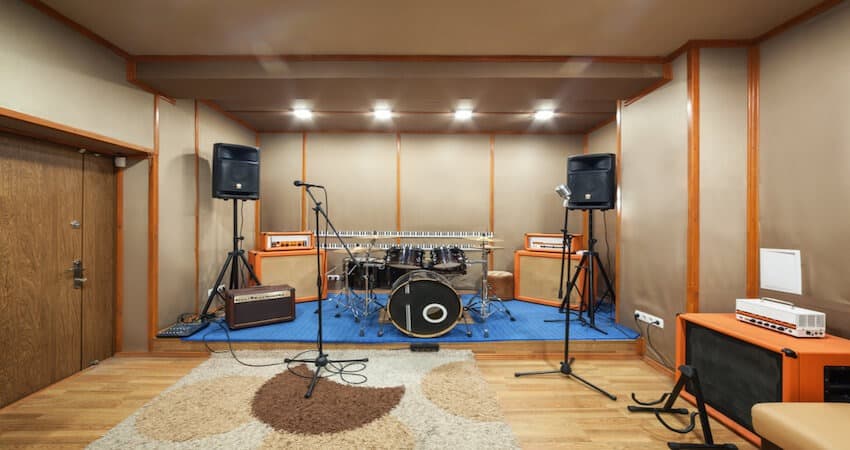
- Soundproof Your Room
You might not be able to turn off every noise in your room. Other times you won’t have any control of the sound coming from outside. Therefore, soundproof your recording room. Seal all the gaps on the walls, windows, doors, and ceiling.
Use the soundproofing curtain and blankets to soundproof your doors and windows. For the small gaps, use soundproofing seal tape, and for the wall install adhesive acoustic foams.
These soundproofing techniques will reduce all noises from your room. Acoustic foams will also soften your sound and reduce all echoes in your room.
To soundproof your room, consider buying either of the following materials on Amazon. Say goodbye to background noise in your recording room.
Soundproofing Seal Tape for window and door gaps
Foam Rubber Seal Strip Tape (Check on Amazon)
- Foam Adhesive Strips
- 2-Inch-Wide X 1/4 Inch Thick
- Total 13 Feet Long
Foam Insulation Tape Adhesive (Check on Amazon)
- Seal, Doors,
- Waterproof,
- Sound dampening
- Craft Tape (33 Ft- 1/8″ x 2″)
Soundproofing Sweeps for the gap between the door and the floor
Door Draft Stopper (Check on Amazon)
- Under Door Seal for Exterior/Interior Doors
- Soundproof Door Bottom
- Weather Stripping
Evelots Draft Stopper (Check on Amazon)
- Double-Sided
- No cold
- 36 Inch Foam
Soundproofing Curtains for Doors and Windows
- Sure-Max 12 Moving & Packing Blankets (Check on Amazon)
- Deluxe Pro
- Double-sided construction
- 80″ x 72″ (40 lb/DZ Weight)
- Professional Quilted Shipping Furniture Pads Royal Blue
- Audimute (Check on Amazon)
- Effective sound absorption.
- Measures 95″ x 54.
- Great for recording studios, drum rooms, rehearsal spaces, vocal booths, and more
- Installation hardware included
Soundproofing Acoustic Foams for Walls
Foamily 12 Pack- Acoustic Panels (Check on Amazon)
- 12 Pack covers 12 square feet
- Professional acoustic control
- Great for spot treating sound on walls
Mybecca 12 Pack- Acoustic Panels (Check on Amazon)
- 12 pack means
- Professional acoustic control Acoustic
- Sound deadening material
How to Remove Background Noise in Audacity
If you have done everything you could to reduce background noise, but your recording still has some noise, don’t panic. Audacity will reduce all the noise from your audio.
Follow the steps below and reduce all noises from in Audacity

1. Download Audacity
If you don’t have the audacity app in your computer, download it. Click here to download for Windows, Mac, and Linux.
After downloading, install it.
2. Open your Audio with Audacity
If you have audio saved in your computer. Open it with audacity.
3. Select the Noisy Area to Edit
To select the area with noise, listen to your audio first. Then click and drag the mouse from one side where the noise begins to its end. Then let go of the mouse.
The selected area will have a dark grey look. However, it’s wise to reduce the entire audio to ensure the audio sound is consistent after editing.
4. Click “Effect” Tab
Navigate to the toolbar on top of the audacity screen (mac) or window (windows).
5. Click “Noise Reduction” Tab
Under the effect tab, you will find “Noise reduction” command under the drop menu.
6. Click “Get Noise Profile”
This audacity feature will determine the type of noise in your audio. It will eliminate the noise while at the same time maintaining the audio integrity.
The feature will work perfectly after selecting more than three seconds of audio.
7. Go Back to “Effect Tab”
You will notice there are more options at the drop-down menu.
8.Click “Repeat Noise Reduction” Tab
This command will reduce the Audacity’s perceived noise level. It will remove any background noise that was not dealt with from the start.
However, if this step produces undesirable results, go ahead and click undo.
9. Save Changes
Click to the “File” tab, then “export Audio” and lastly “save”. At this point, you will have reduced background noise in Audacity.
Conclusion
If you can reduce the background noise before recording, the better. This will ensure that your audio is clear. Also, the audacity will have an easy time identifying noise from your audio. Apply noise reduction techniques discussed in this article.
Audacity removes background noise from recorded audio. It works perfectly and produces quality audios. Use it today and produce professional podcasts.